Ultimate Guide to Fascia Repair: Essential Tips and Techniques
When it comes to maintaining the integrity of your home, fascia repair is a crucial aspect that often gets overlooked. The fascia board, located at the edge of the roofline, plays a vital role in protecting your home from water damage, pests, and enhancing its aesthetic appeal. This comprehensive guide will delve into the importance of fascia repair, common issues, and effective solutions. Let’s explore everything you need to know about this essential home maintenance task.
Understanding Fascia and Its Purpose
The fascia board is a horizontal board that runs along the edge of the roof. It serves multiple important functions:
- Protection: It acts as a barrier against water intrusion, protecting the underlying structures of your roof and home.
- Support: It supports the lower edge of the roof and helps keep the roof shingles appropriately aligned.
- Aesthetic Appeal: Fascia adds a finishing touch to the roofline, improving the overall appearance of your home.
Why Fascia Repair is Essential
Over time, fascia boards can face various challenges, leading to the need for repair. Here are some reasons why fascia repair should be prioritized:
- Water Damage: Cracked or rotting fascia can allow water to seep in, causing significant structural issues.
- Pest Infestation: Damaged fascia can serve as an entry point for pests, leading to infestations that could compromise your home’s safety.
- Energy Efficiency: A well-maintained fascia contributes to better insulation, leading to lower energy bills.
- Aesthetic Value: Repairing your fascia can enhance your home’s curb appeal, making it more attractive to potential buyers.
Signs That Your Fascia Needs Repair
Identifying issues with your fascia early on can save you from extensive repairs later. Look for the following signs:
- Peeling Paint: This could indicate moisture issues and deterioration of the board.
- Visible Rots: Soft spots or holes on the fascia board mean it’s time for immediate repair.
- Cracks or Gaps: Cracks in the fascia can lead to water leakage if not addressed promptly.
- Pest Activity: Signs of insects or critters around the fascia may indicate structural damage.
Types of Fascia Materials and Their Longevity
Fascia boards come in various materials, each with unique properties. Understanding these materials can help you make an informed decision during repairs or replacements:
- Wood: Traditional and aesthetically pleasing but requires regular maintenance to prevent rot.
- Vinyl: Durable and low-maintenance, but can be prone to cracking in extreme temperatures.
- Aluminum: Lightweight and resistant to rust, making it a popular choice for durability.
- Composite: Made of recycled materials, they offer great longevity and resistance to decay.
DIY vs. Professional Fascia Repair
Determining whether to tackle fascia repair yourself or hire professionals can be critical. Here are some considerations:
DIY Fascia Repair
If you enjoy home improvement projects and have the necessary skills and tools, DIY fascia repair might be suitable. However, ensure you:
- Create a plan: Understand the steps involved in fascia repair, including materials and time required.
- Invest in quality materials: Use materials that can withstand weather conditions.
- Prioritize safety: Use ladders and other equipment safely, and wear appropriate safety gear.
When to Call a Professional
In some cases, it’s wise to enlist a professional. Consider this option if:
- You are not comfortable working at heights.
- The damage is extensive and requires significant repair.
- You lack the tools or expertise to perform a proper repair.
Step-by-Step Guide to Fascia Repair
If you decide to undertake fascia repair yourself, here’s a detailed step-by-step guide:
Step 1: Gather Your Materials
Before starting, make sure you have the following materials:
- Replacement fascia board (if needed)
- Nails and/or screws
- Wood glue
- Paint or sealant
- Safety goggles and gloves
- Ladder
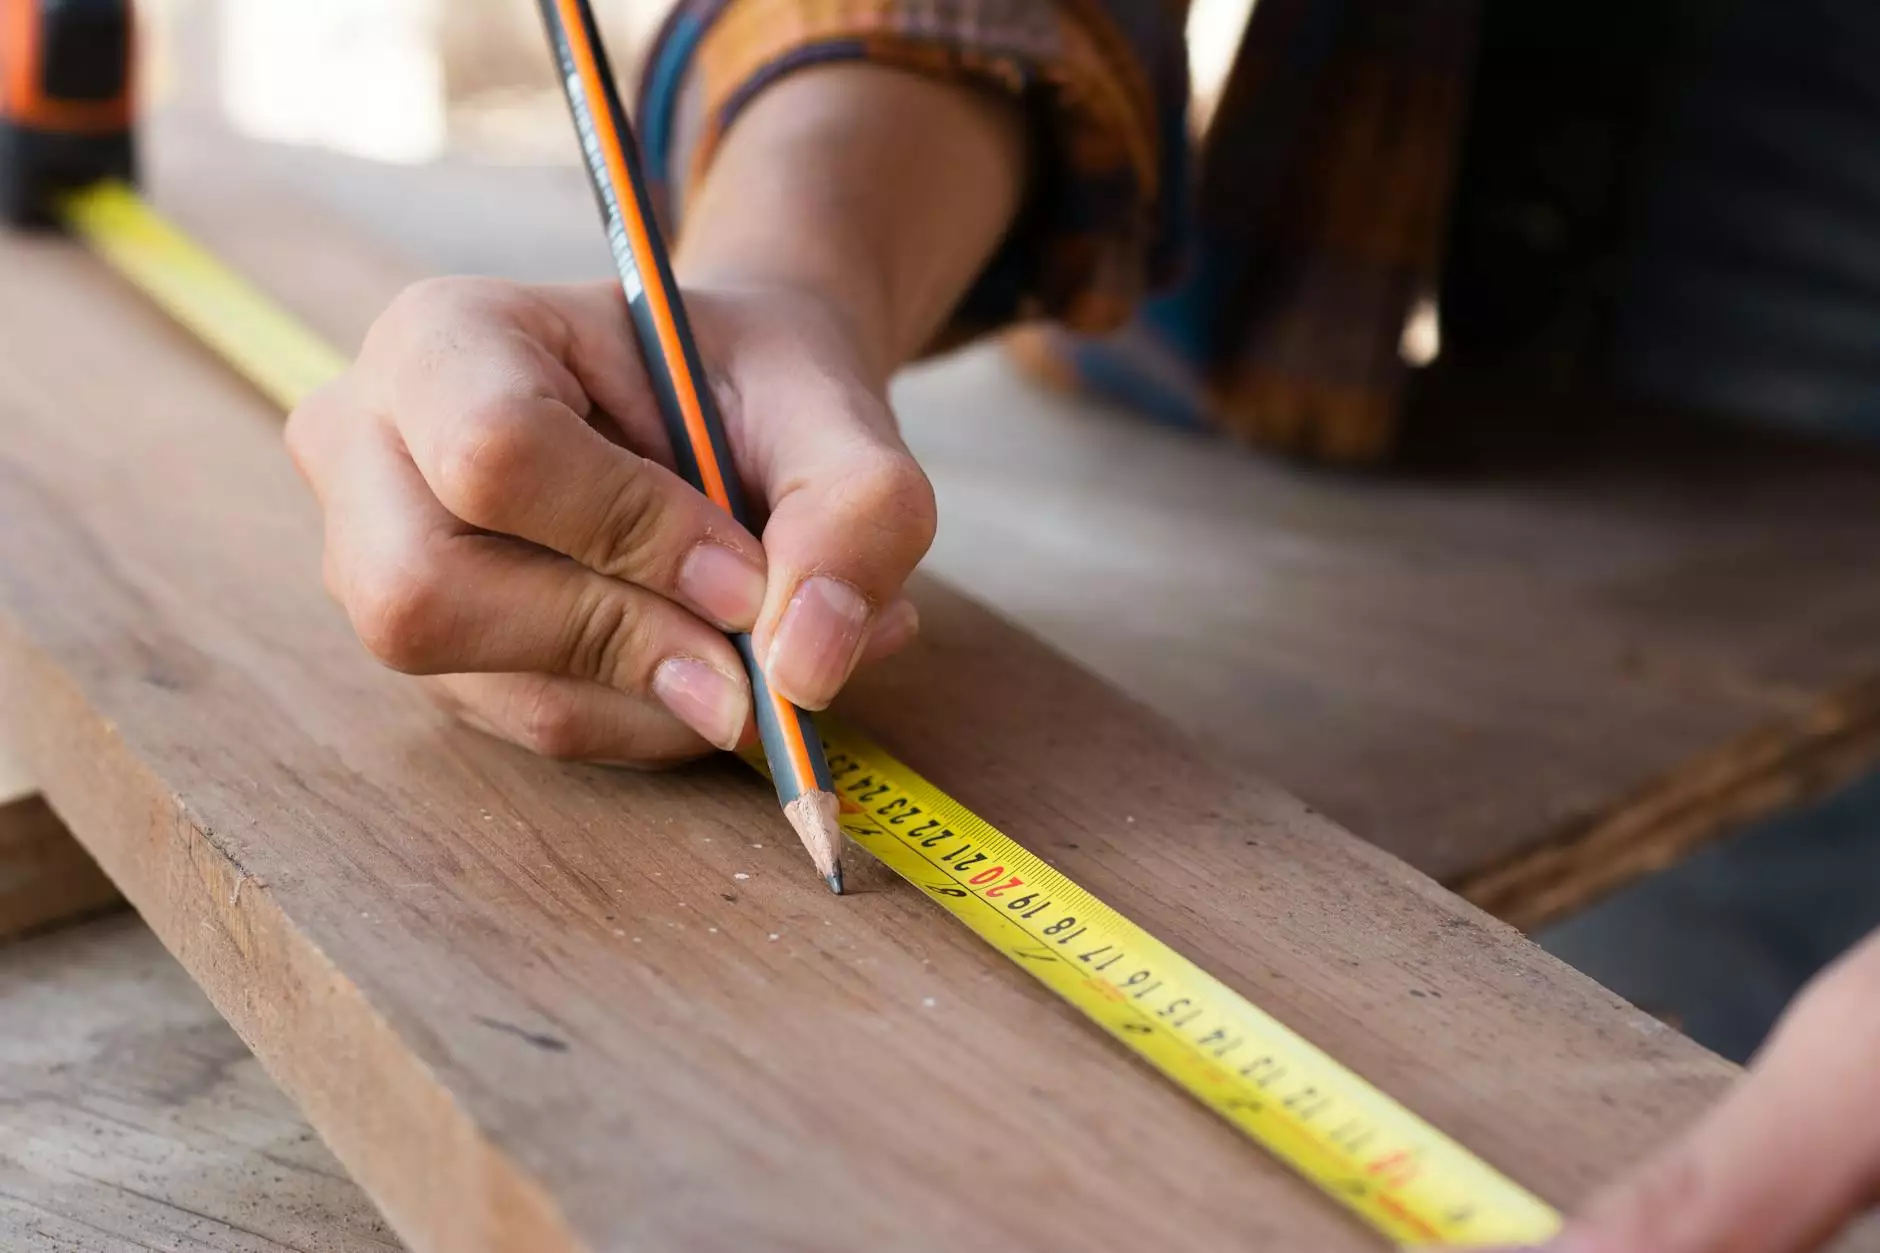
- Measuring tape
- Chisel and hammer (for removing damaged fascia)
Step 2: Safety First
Ensure you follow safety protocols: wear gloves and goggles, and do not work alone when using a ladder.
Step 3: Assess the Damage
Inspect the fascia to determine the extent of the damage. If only a section is affected, you may be able to replace just that portion.
Step 4: Remove the Damaged Fascia
Using the chisel and hammer, carefully remove the damaged section of the fascia. Ensure you remove any nails or screws holding the board in place.
Step 5: Prepare the Replacement Board
Cut the replacement fascia board to size. If you’re using wood, apply a sealant to prevent moisture damage.
Step 6: Attach the New Board
Position the new fascia board and secure it in place using nails or screws. Ensure it is level and flush with the edge of the roof.
Step 7: Finish and Seal
Once the new fascia is in place, apply paint or sealant to enhance protection against the elements.
Benefits of Regular Fascia Maintenance
Maintaining your fascia is essential to avoid costly repairs. Regular inspections can help you catch issues early, including:
- Prolonging lifespan: Regular maintenance can extend the life of your fascia, saving you money in the long run.
- Enhancing home safety: Well-maintained fascia prevents pests and water intrusion.
- Increasing value: A beautiful, functional fascia contributes positively to your home's market value.